
+
Satisfied customers
k
Projects done

Affordable Pricing
Enjoy the best prices on stylish furniture. Our commitment is to help you find quality pieces that fit your budget and elevate your home decor.
Expert Guidance
Receive tailored advice on the latest home decor trends and furniture choices. Our expert team is here to assist you every step of the way.


Blog

How to Choose the Perfect Mattress for Comfort and Support
What does “comfort and support” actually mean in a mattress? Comfort is how the surface feels on their body, especially...
Read More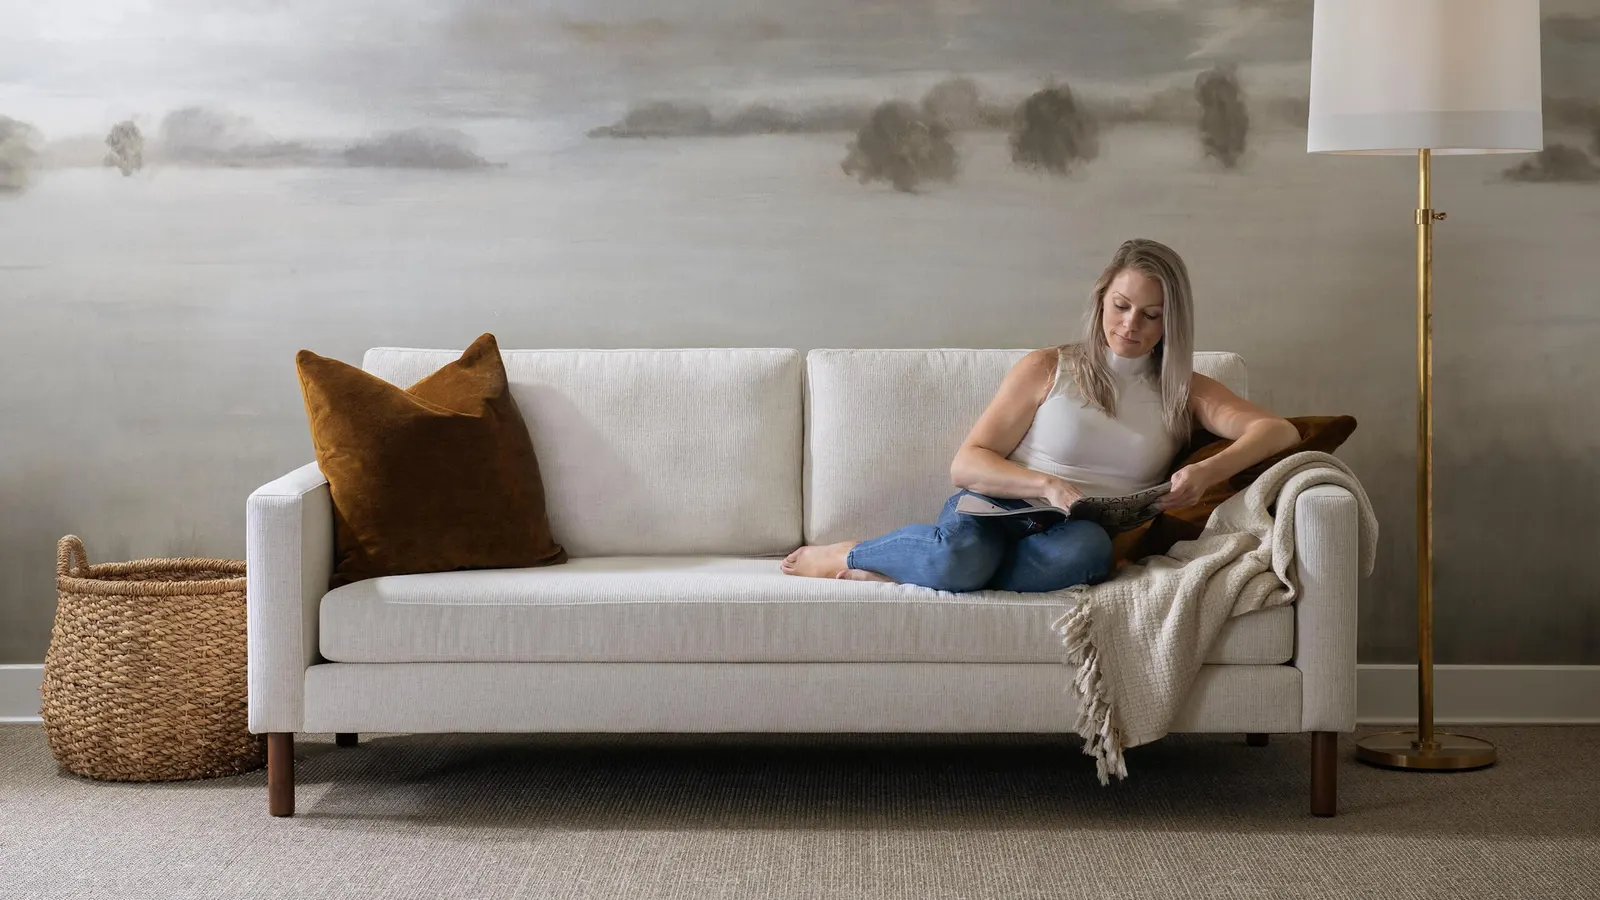
Best Modular Sofas Australia: Trends Dominating Living Rooms in 2026
Below are the trends shaping what buyers are choosing, plus what to look for before they commit. What makes a...
Read More
Searching for Sofa Beds Near Me? What Sydney Buyers Should Check First
The goal is simple. They should narrow choices fast, avoid common traps, and end up with a sofa bed that...
Read More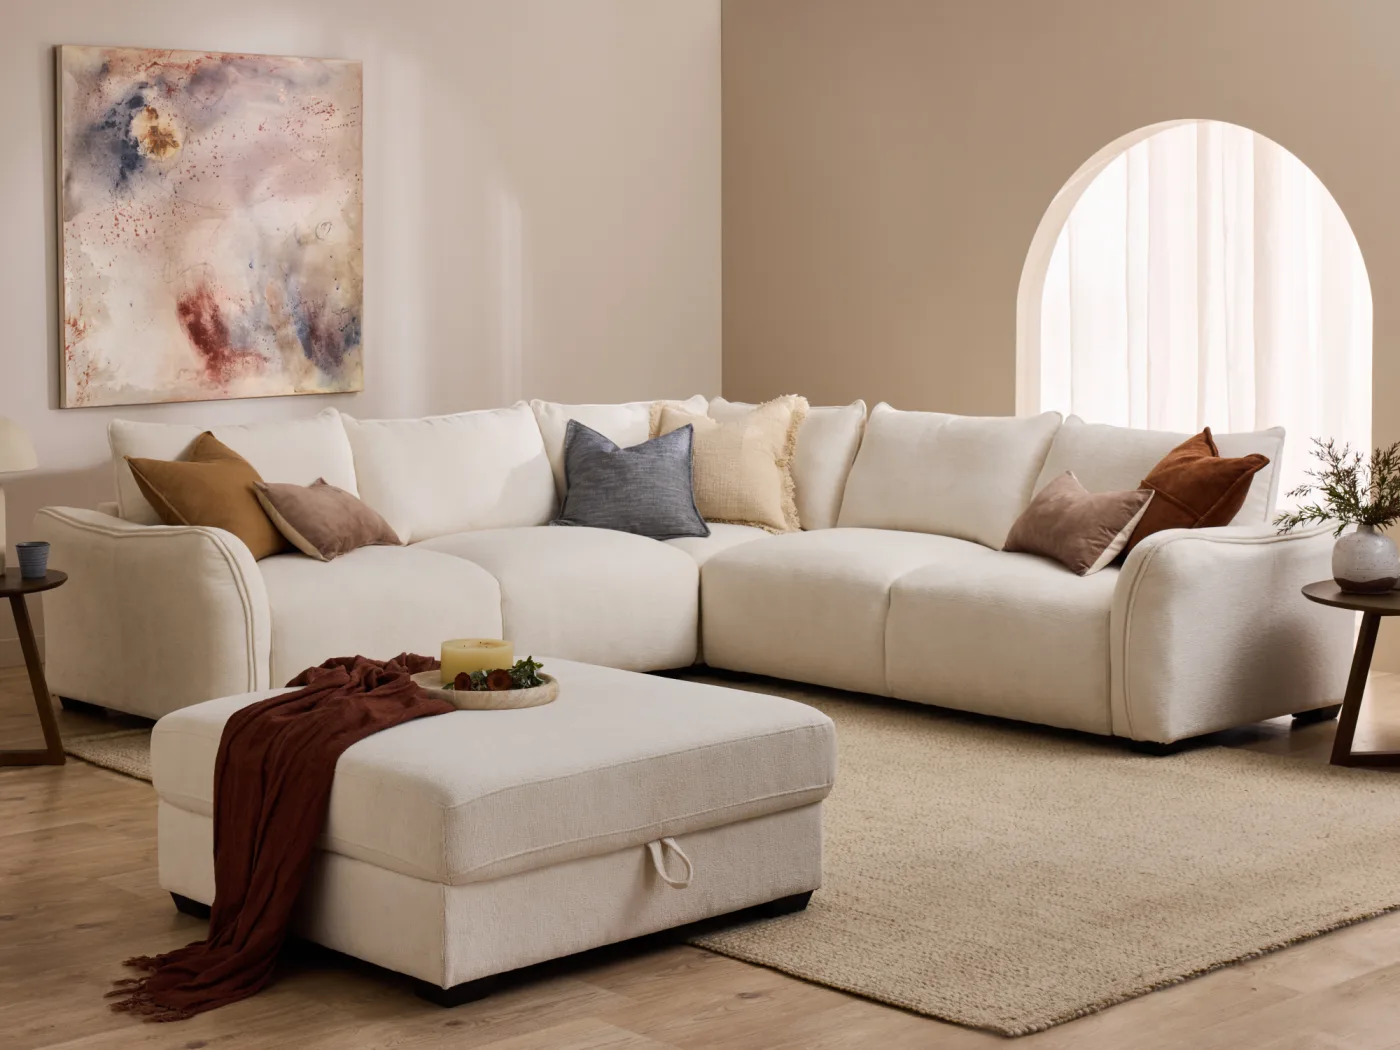
Best Sofa Beds in Australia Under $1,500 (2026 Guide)
Affordable Luxury: The Best Sofa Beds in Australia Under $1,500 (2026 Edition) Finding the perfect balance between high-end aesthetics and...
Read MoreCorner Sofas Sydney: Maximising Comfort in Any Room
They also suit the way many Sydney homes are laid out, from open plan living areas to compact apartments. The...
Read More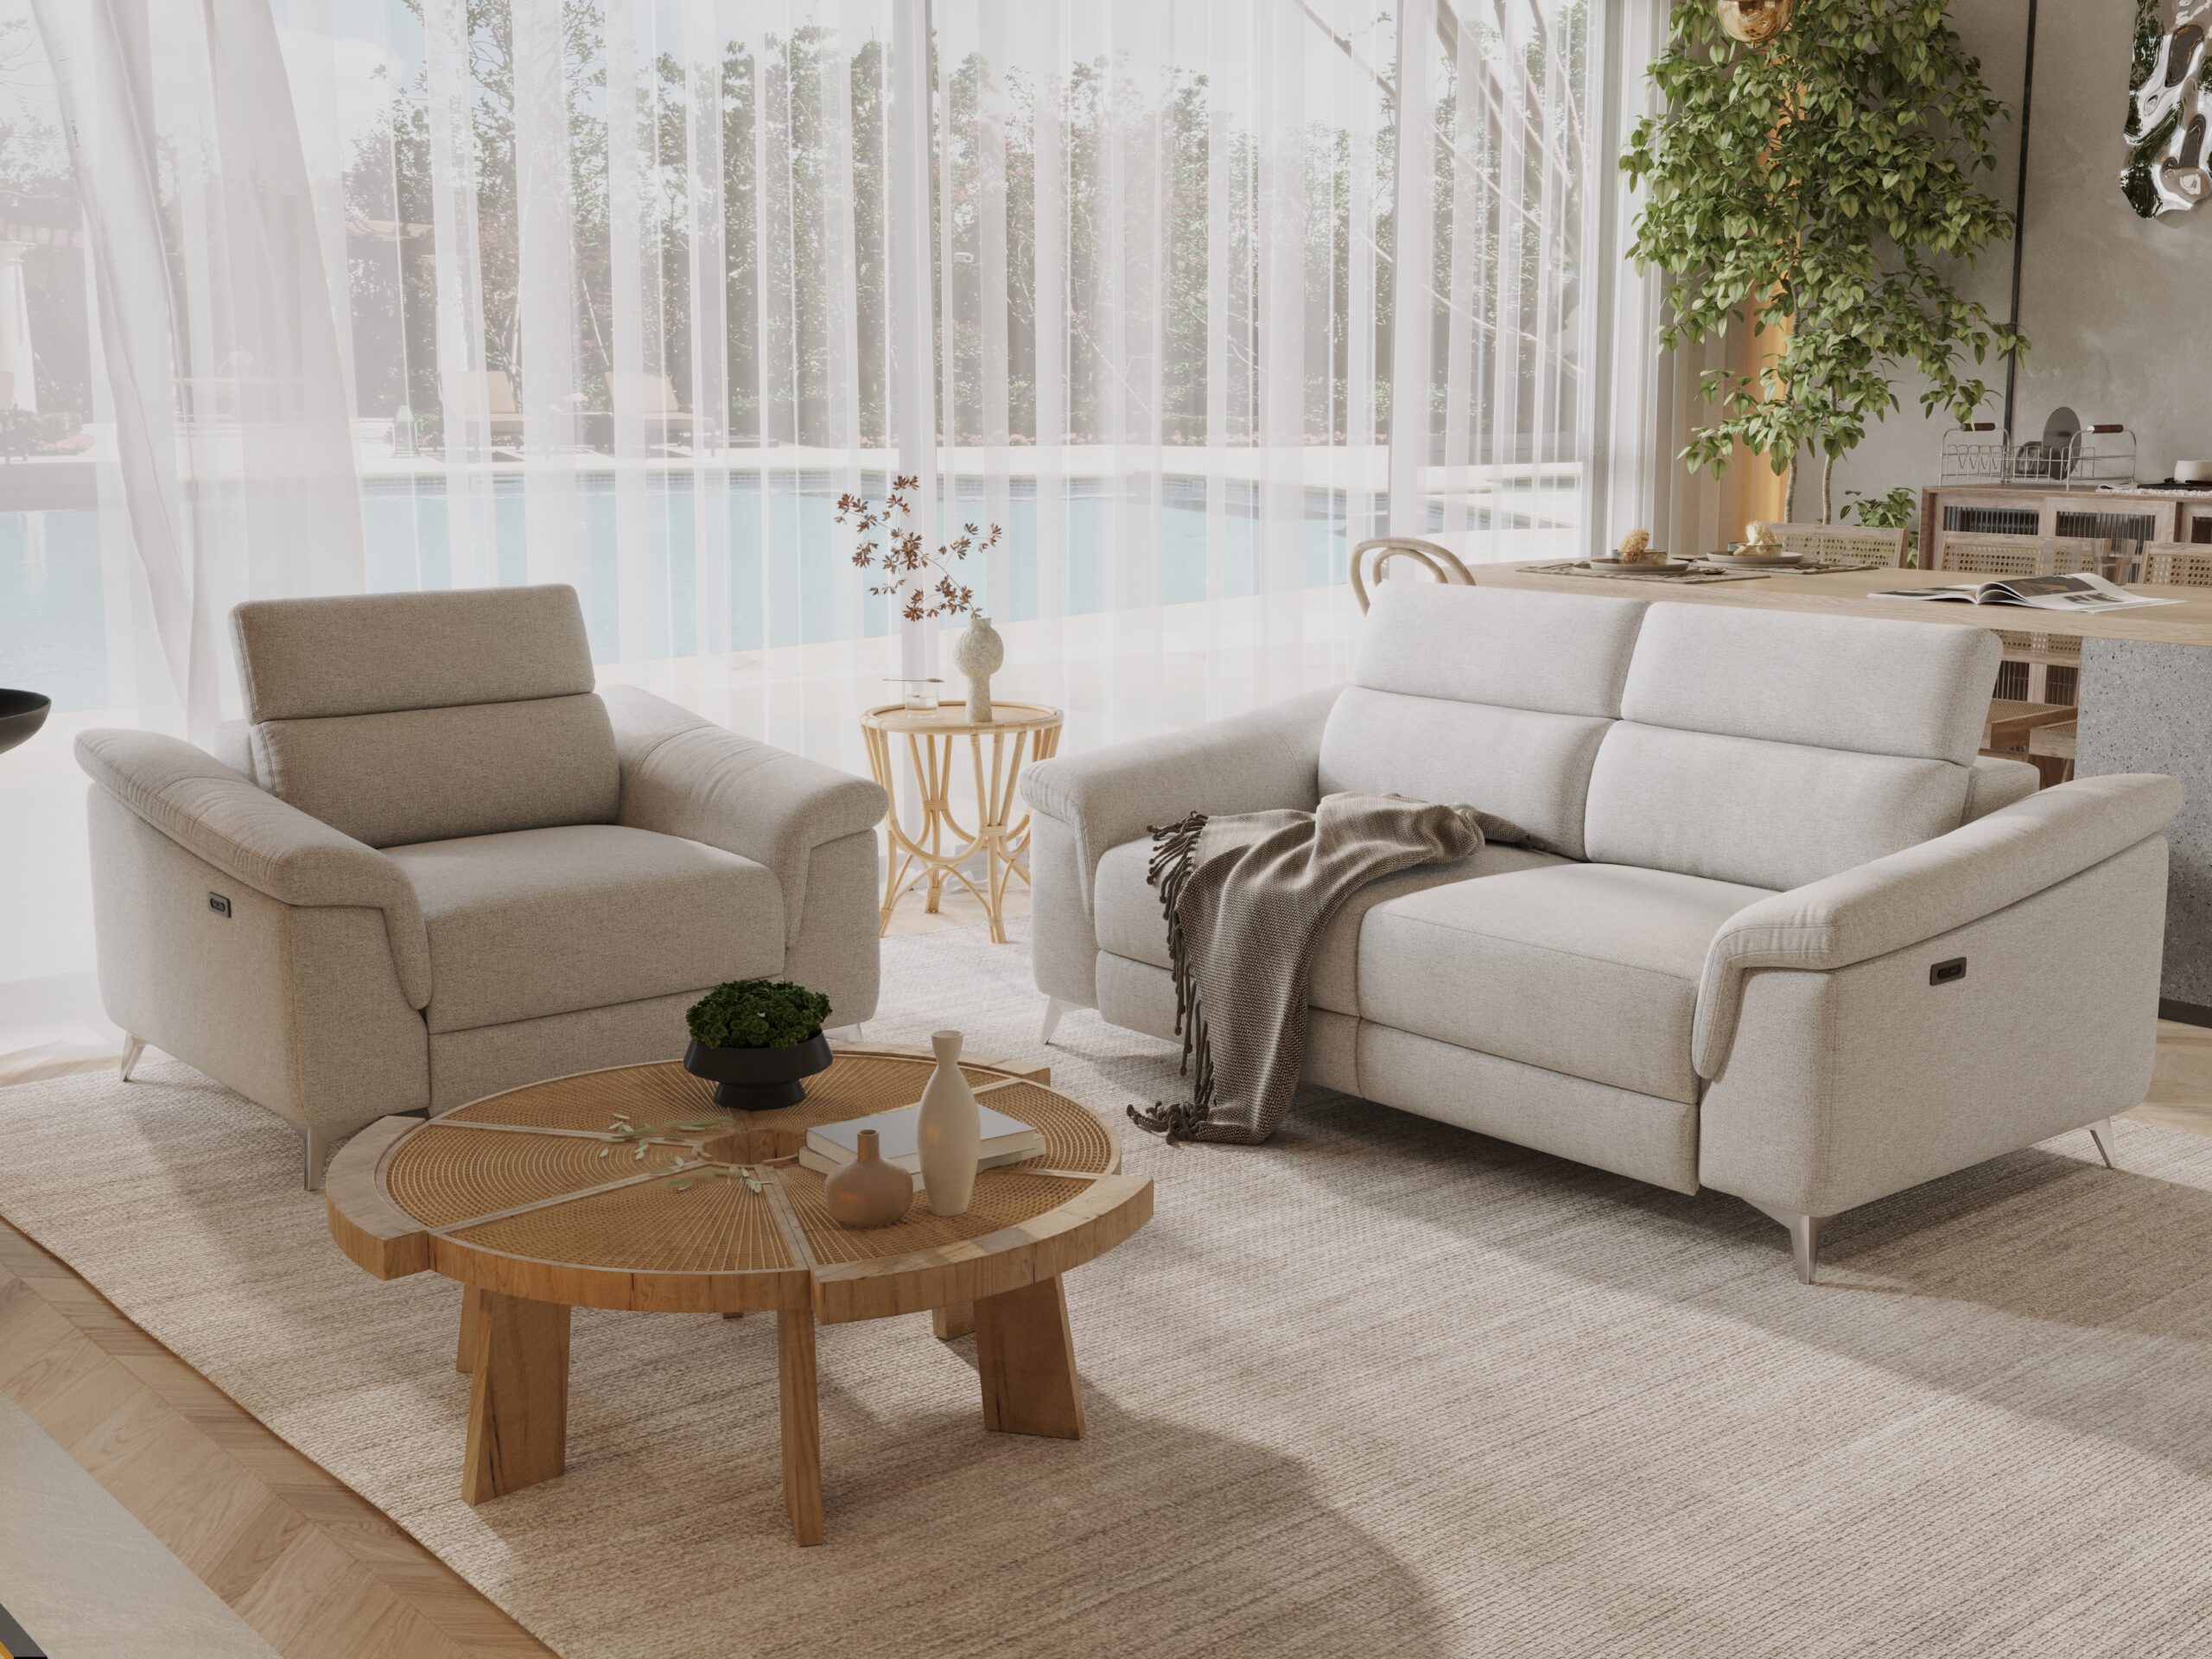
Recliner Sofas Australia: Comfort vs Design Explained
This guide breaks down what matters most, where trade-offs usually happen, and how they can choose a recliner sofa that...
Read More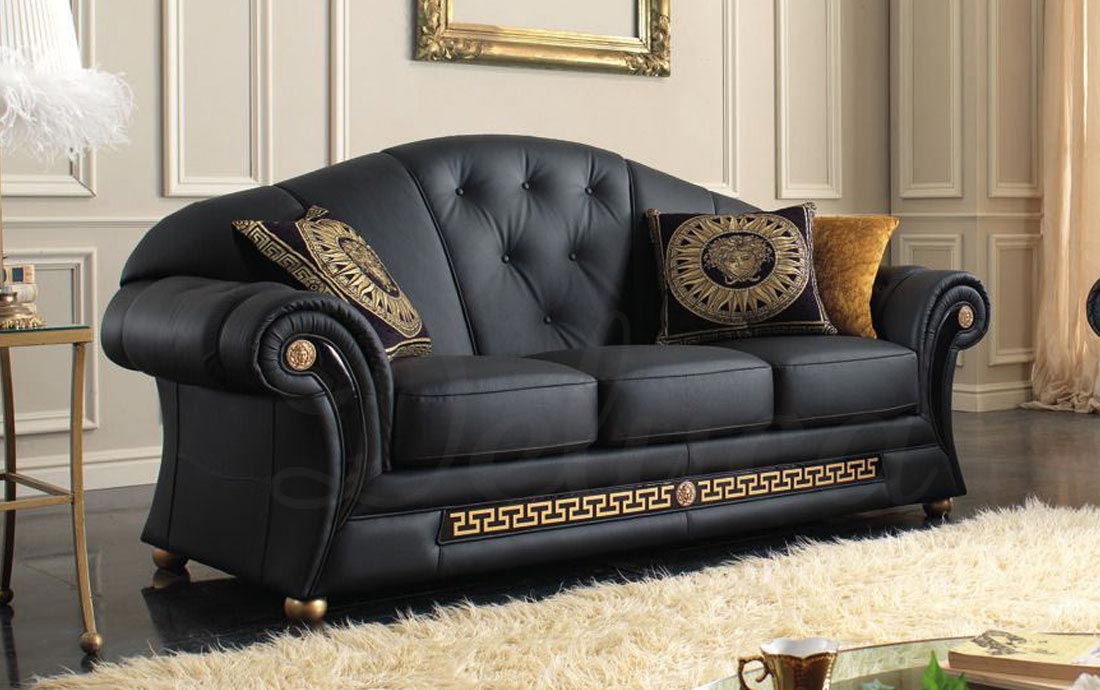
The Definitive Guide to Maintaining Your leather sofas
How to Properly Maintain Leather Sofas for Longevity and Appearance? Leather sofas are a significant investment in your home’s comfort...
Read More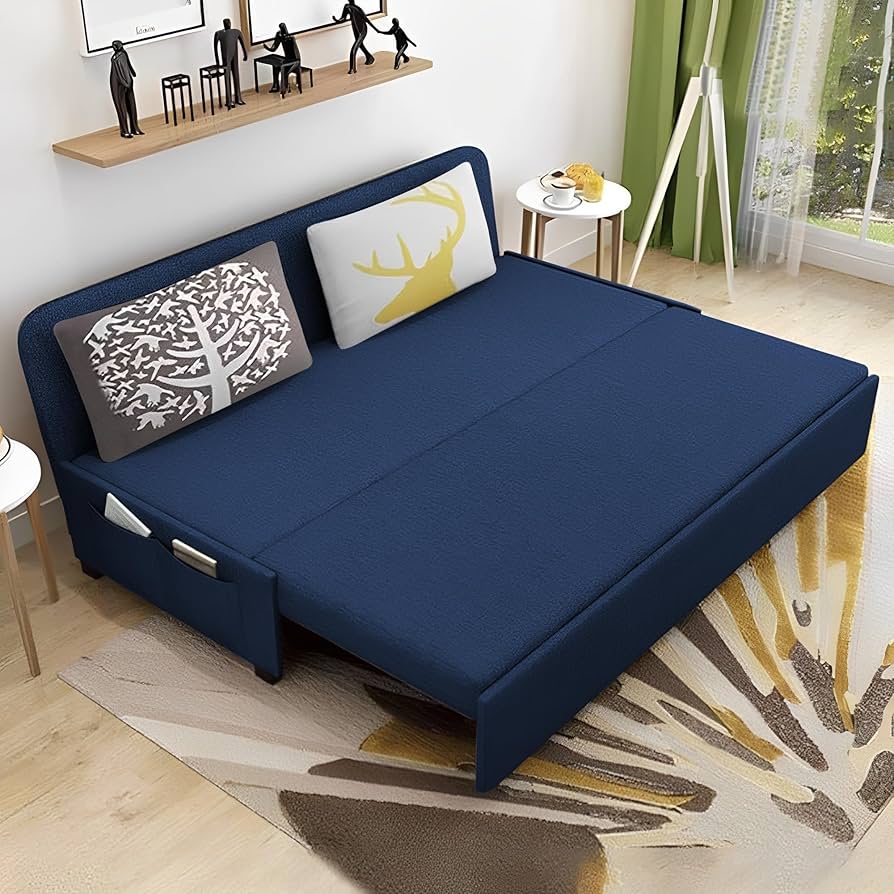
A Buyer’s Guide to Choosing the Perfect sofa beds
What Are Sofa Beds and Why Are They a Smart Choice for Your Home? Sofa beds are multifunctional furniture pieces...
Read More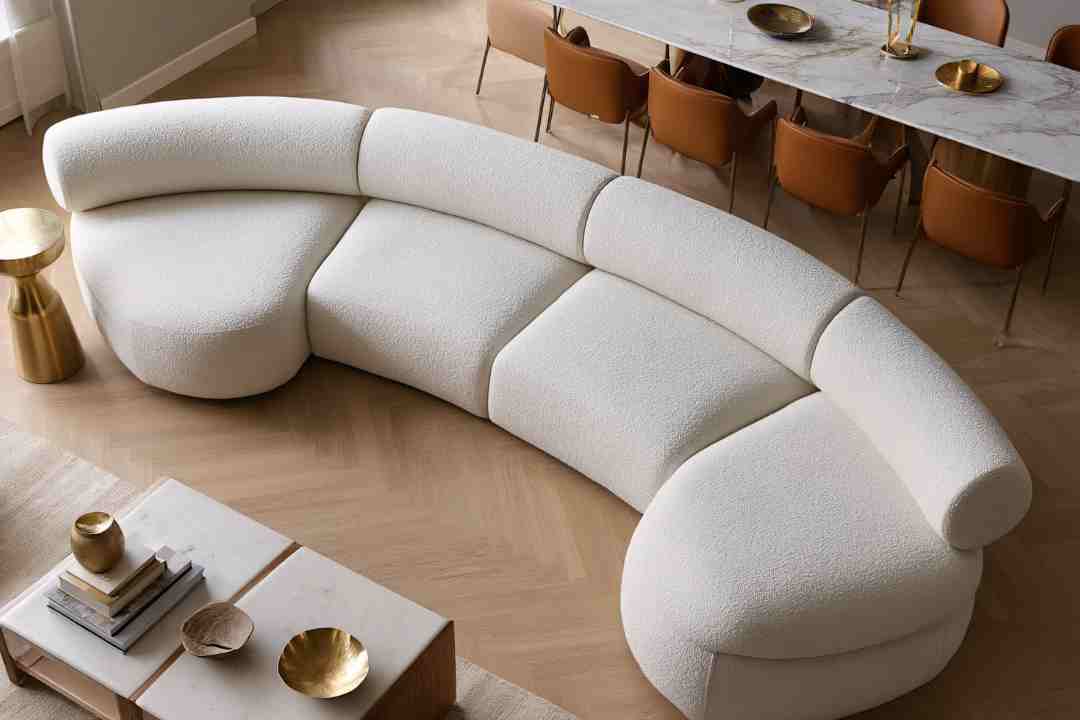
Furniture Outlet Sydney: The Ultimate Guide to Value Shopping
Finding high-quality home decor shouldn’t require a second mortgage. For savvy Australian homeowners and renters, furniture outlet represents the bridge...
Read MoreOur Process
Discovering Your Ideal Home Furniture Solutions
What Clients Say
Hear From Our Happy Customers
Life We Live transformed my home with stylish yet affordable furniture. I love how everything turned out!

Company Name
I found amazing outlet deals on furniture that match my décor perfectly. Highly recommend this site for all homeowners.

Company Name
The guidance I received was invaluable. They helped me pick the perfect pieces for my living space!

Company Name